Happy New Year Everyone!
Happy New Year Everyone! Have a great celebration! Enjoy whatever you're doing tonight, and I'll rejoin you all again in 2008!

w00t!
Happy New Year Everyone! Have a great celebration! Enjoy whatever you're doing tonight, and I'll rejoin you all again in 2008!

w00t!
I've recently written a beginner's article explaining what partial classes are and how to use them. My Partial Classes Tutorial walks you through how how partial classes work, how to create partial classes, when one would use partial classes, and a few other bits of useful information. If you don't know much about partial classes I recommend you read the article it has some useful information in it. If you have any partial class question either ask me here or comment on the article. I will be happy to answer questions.
As always, thank you very much for reading.
So I am finally sitting down to play with the ASP.NET MVC Framework. I've installed Visual Studio 2008 on my machine. You can obtain a 90 day free trial of Visual Studio 2008 from Microsoft if you don't own a copy. There are also Express Editions of Visual Studio 2008.
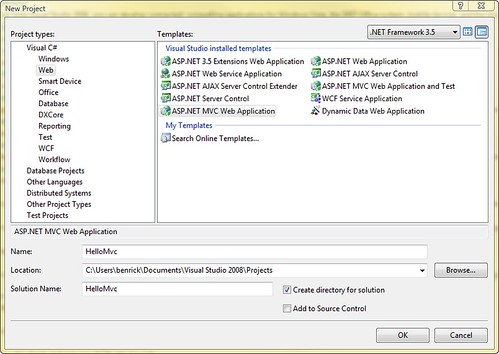
After installing Visual Studio 2008 I installed the ASP.NET 3.5 Extensions Preview. It contains the required components to use the new MVC Framework. Now that you have it installed open up Visual Studio and create a new project. Choose the web section and select ASP.NET MVC Web Application. I named my project "HelloMvc".
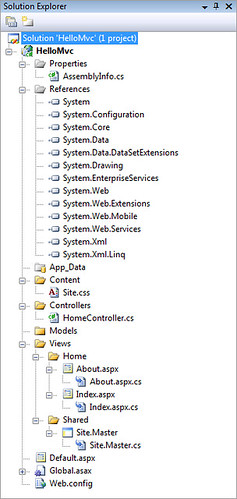
Here you can see the files currently in this empty project. Notice there are a bunch of files that it comes with including a Controller and a couple of Views.
So now run the application by pressing ctrl + F5. You'll see this page once you run the application.
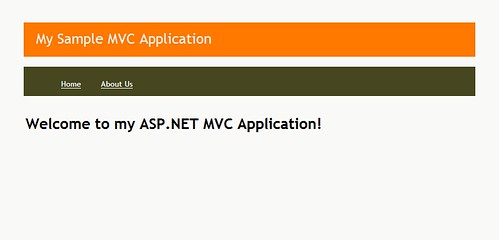
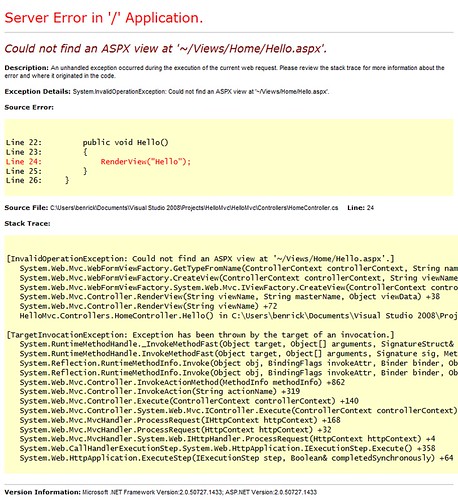
Fairly simple for now, but hey it works. Now we should try to figure out how to create a simple static page. We'll make it look kind of like that about view that is already in there. We want it to be hello. OK, so click on the About Us link in the application. You'll be at a URL similar to this one http://localhost:64701/Home/About. So as a nice test try changing "About" to Hello in the address bar. You'll receive this nice error message which tells us the first step in creating our Hello World page.
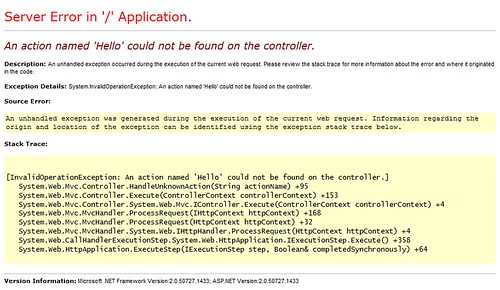
Ok so we need to define an action in our controller. The Home part of our URL is saying we want to use the HomeController, so open up that file in the Controllers folder and add the following code into that file.
[ControllerAction]
public void Hello()
{
    RenderView("Hello");
}
Notice that all we needed to do here is to use the ControllerAction attribute for a method we define. We'll defined the method named Hello by added a line calling the RenderView method. Congratulations you've defined your first Controller Action. So we now refresh the page where we previously received an error message, and we're greeted with a new one. So we are on the right track.
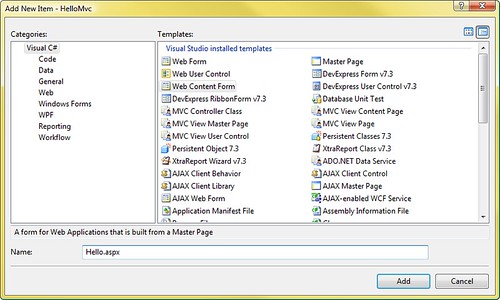
Now we need to create the view that we are trying to call in our Controller Action. So we'll right click on the Home folder inside of the View folder and select Add then New Item. Here is where Microsoft has tried to trick you. They've now changed how you attach to MasterPages. Instead of picking a Web Form and checking a box you now have a new choice Web Content Form. Make sure you pick that or you'll not get a MasterPage added for you. It will look like this.
So now that we have that empty view we can quickly add a nice message into it. So go ahead and type in some html like the following.
<h2>Hello World! MVC is here!</h2>
Now you need to go into the code of this view and place in the following.
using System;
using System.Web;
using System.Web.Mvc;

namespace HelloMvc.Views.Home
{
    public partial class Hello : ViewPage
    {
    }
}
Notice here that we need to inherit from the ViewPage class instead of the System.Web.UI.Page class. We are instead using the System.Web.Mvc.ViewPage class. This will allow our .aspx page to work as a view. Make sure to build the application and then open up the view again in the browser. Woohoo you've successfully created an MVC Controller Action and a View. And as some icing on the cake we will now add a link to our view on the MasterPage so that we can easily access this Hello View whenever we want to.
Open up the Site.Master file. It is located in the \Views\Shared. You will see an unordered list in the html. There are currently two list items in the list; Home and About Us. You will want to add a new one using the following code.
<li><%= Html.ActionLink("Say Hello", "Hello", "Home") %></li>
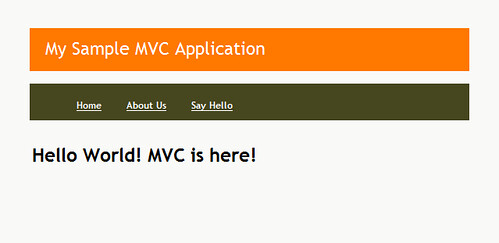
Now refresh the page. From anywhere on this site you can now get to the Hello World View. The method we used here took 3 arguments. The first is the text which appears for the link, the second is the name of the view, and the third is the name of the controller. The following is our final product. We have the Hello World page as well as a nice link to it.
Enjoy creating simple MVC Views!
So obviously anyone wanting to write technical blog posts will eventually require code snippets on the posts. Posting code is not very difficult. The basic part is just that you want the browser to know that your text is code and it should not apply standard html formatting to it; wrapping lines, etc. The key ingredient to this is the html tag pre. It tells the browser that the following is special. It really just means that the inner text of the tag is preformatted, and that the browser should do nothing but display the text. Very useful for displaying code snippets. Especially if the snippets are html snippets. Wouldn't it be bad if the browser rendered the code you were trying to show people.
So great we have preformatted text, but it still doesn't look nice at all. Well I could sit there and color the snippets and spend time formatting it nicely, but I use Windows Live Writer. Great tool. I blogged about why I like Windows Live Writer in the past, and the add-ins I am about to mention simply add to my admiration of this tool. There are a few great code snippet inserting tools. Which let you choose a language and it will format the code nicely including some coloring for you. Some will give you containers and fancy alternating lines. I've settled on no container without lines. It seems to work well enough for my purposes. Not too fancy, but still readable enough to allow the code to be useful to others.
I hope that is useful to people out there. I highly recommend these code snippet inserting tools. Also I recommend Windows Live Writer and the plug-ins for it. There are a lot of useful tools for this application. (Yes, I am using Windows Live Writer for this message.)
Happy blogging!
So I have been ignoring these messages I've been receiving for a while about Silverlight. Now I might not have ignored it, but it said my version of Silverlight expired. Ok so big deal. You might say, "Why not just go get a new version?" Well it says to go to a certain URL. You can't click on the URL, and you can't copy and paste the text. Typing URLs by hand is so mid 90's.
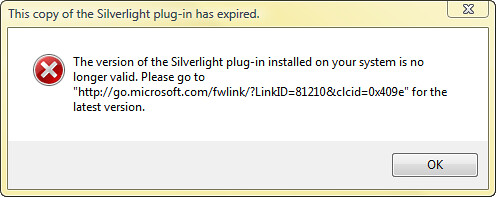
So the really annoying part of all of this. I just now navigated to that site by typing in all of that junk. And it takes me to the Silverlight page on the Microsoft site. http://www.microsoft.com/SILVERLIGHT/default_ns.aspx
I am also annoyed that the older versions of Silverlight don't still work. So I click the download link, and when the download completes I run the install, and this pops up on my screen.
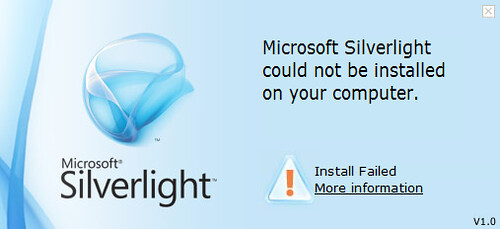
What the hell shouldn't the link that the error message sent me take me to a page where the download will just work? Since it is the URL from the error message it should send me to instructions at least. So now that my install has failed at least I have a link to click on. It takes me to this nice page where I get some Silverlight help. It has links to actually go to the pages. The kind where I don't have to type in a URL by hand.
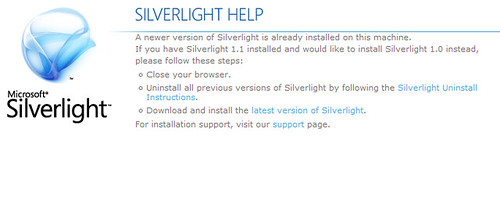
So it says I need to uninstall. Why wasn't I told this before I was sent to go download the Silverlight install at first? So just for kicks because I thought it was kind of funny to have it there. I clicked on the Silverlight Uninstall Instructions. The best thing ever happened. Going to that page gave me the error message again. So they actually try to have Silverlight content on the page with the instructions to uninstall Silverlight...... Now this is truly amazing. They actually have videos explaining how to uninstall Silverlight on this page, but they couldn't give me a link in the error message. They could have just said, "You will need to uninstall your current version of Silverlight. You can download a new version here." That would just be way too easy though.
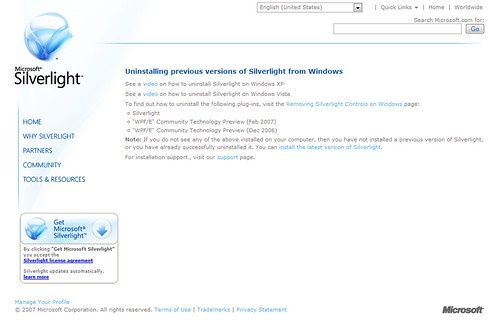
Just thought I would share that nice bit of fun with you.
The moral of the story is probably something about not expecting error messages to give good information. Perhaps also that some install files aren't smart enough to handle an upgrade of any kind.