In case you missed it, Steve Smith, Michelle Smith, and I are Kickstarting the 2016 Software Craftsmanship Calendar. Make sure to support and share the project so that this awesome calendar can make a comeback! We are dedicated to making this happen, but need your support.
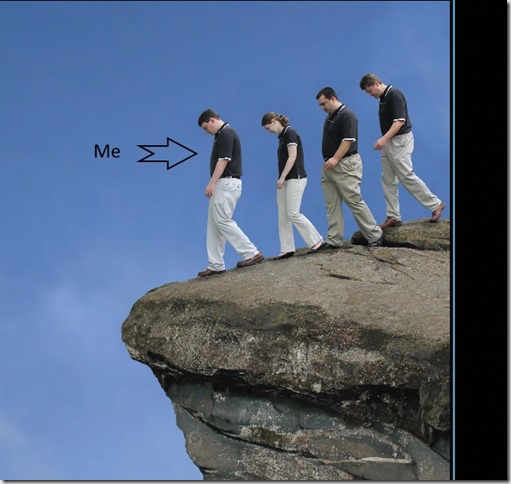
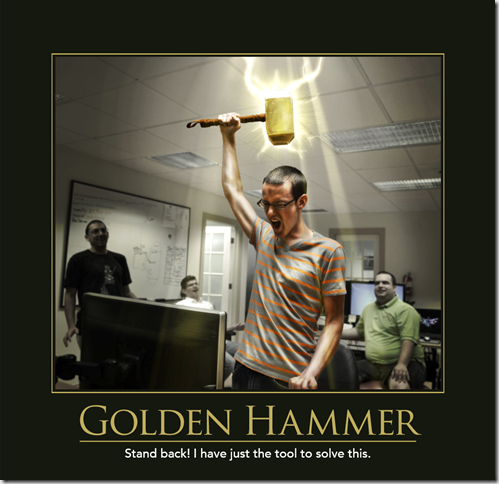
This will be our fifth calendar, so we’ve got a lot of practice. None of us work together anymore, so we didn’t have a company backing the 2015 calendar. As a result, it didn’t happen. We’re going to fix that for all of the people who were contacting us and others related to the calendar trying to get their 2015 editions; the 2016 calendar is for all of you. I know it’s really early to be thinking about buying a new calendar, but there a printing deadlines, so we really do make these calendars in the summer. As a result of our efforts, those of you who were lucky enough to have the 2012 or 2014 editions of the Software Craftsmanship calendar got to have a picture of me up on your wall for an entire month for each of those two years! I have no idea if I’ll make it into the 2016 calendar, but it will see be awesome. Here are the pictures I was in!
Death March
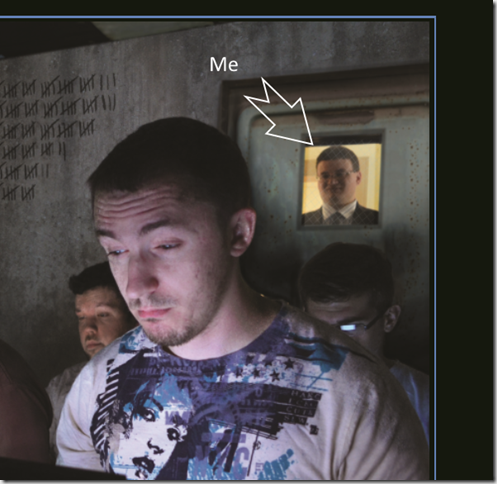
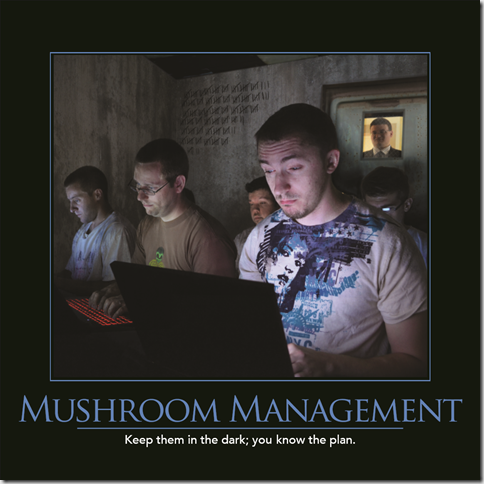
Mushroom Management
In the spirit of explaining what goes into making each of these calendar images, I’ve decided to write a post here showing how the Mushroom Management photo got the way it is.
Step 1 – A Principle or Anti-Principle
We always start with some principle that we want to make. There are so many to choose from that we have to trim the list down to any we can get an idea for. That means that we start by brainstorming ideas, and keep the principles that we got any ideas for. It doesn’t matter how good the idea is. If we could come up with a visual we keep it and continue working on the visual. We have this set of criteria for the visuals:
- The image has to relate to the principle.
- The image has to be interesting enough to have on a wall for a month.
- The image should have a humorous aspect to it.
Step 2 – Sketch the Idea to Make Sure It Works
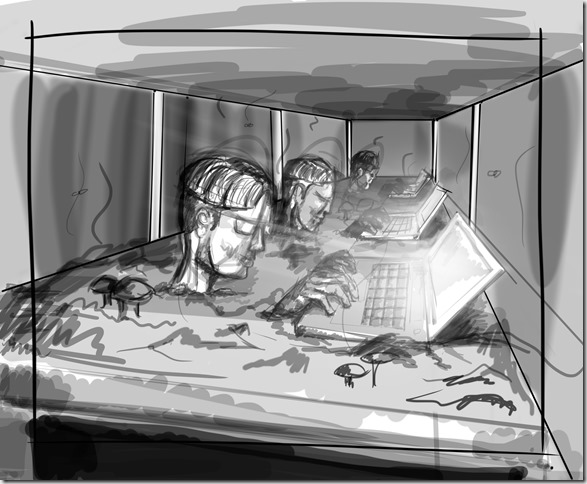
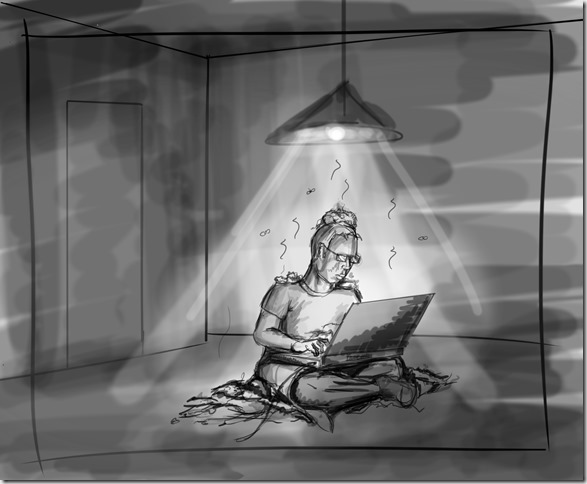
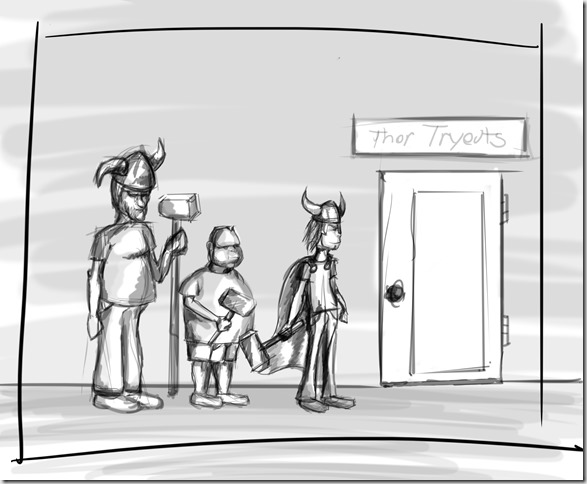
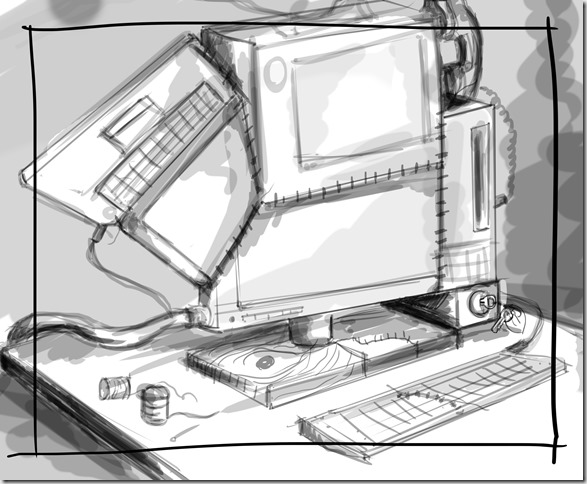
Before we make any props, find a location, and start taking pictures, we have to make sure the idea will actually work. We also want to know what we need to set up. Not all ideas require this, but it helps choose between multiple ideas. It’s also a great point to iterate on before we start shooting. Often the sketches only resemble the image, which is why we spiked the idea with a sketch first.
Mushroom Management Sketches
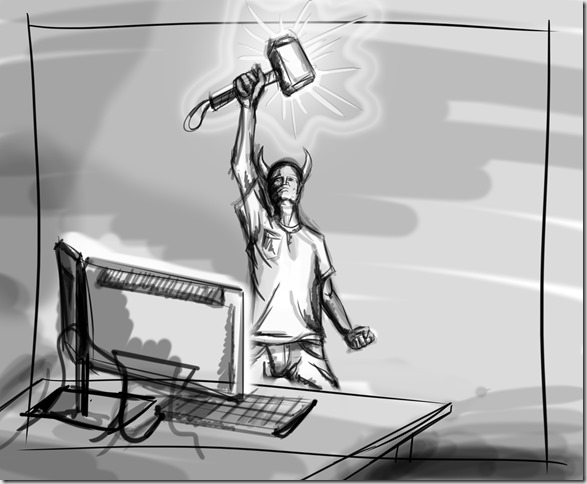
Golden Hammer 2.0 Sketches
Frankencode Sketch
Step 3 – Make Any Required Props
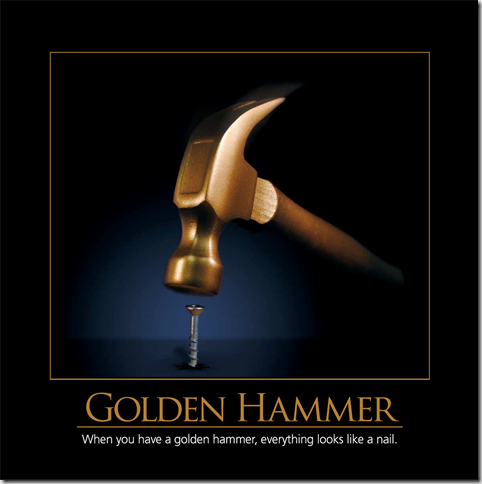
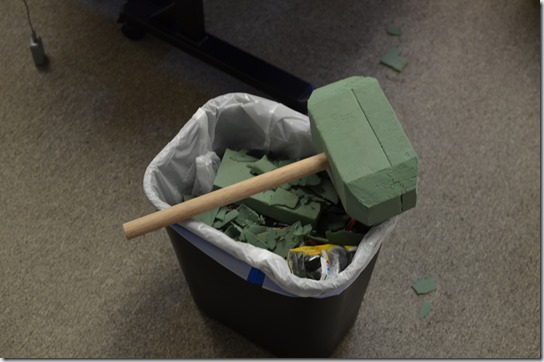
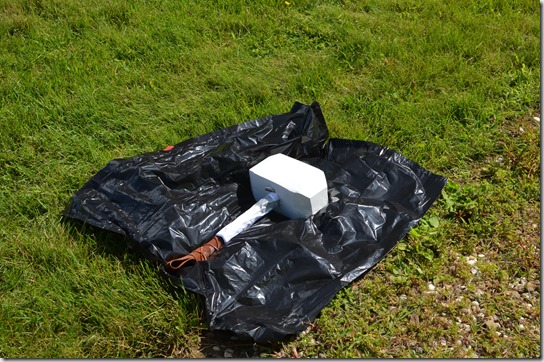
The golden hammers we’ve used over the years were all made by us. We’ve made 4 different hammers over the years. Only two of them made it into calendar images. Two hammers were real hammers that we painted gold. One was a plastic hammer painted gold. The one featured in the 2014 calendar that looked like something Thor might wield was custom made by our designer Weston. He sculpted it, painted it, and even cut and wrapped the leather for the hilt.
The Original Hammer
The Thor Hammer
And this is how the hammer was made:
Step 4 – Start Photographing
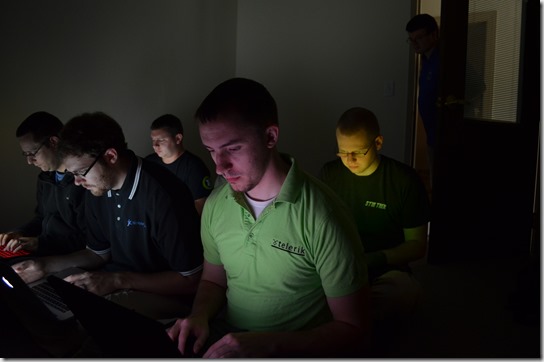
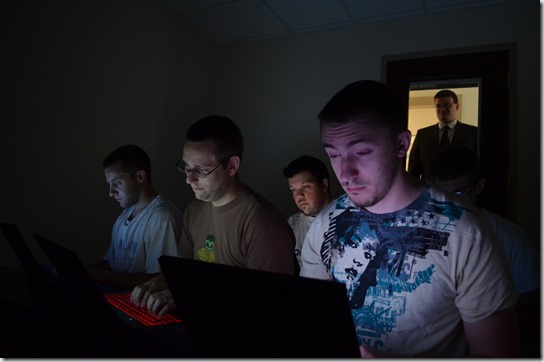
Perhaps the most obvious part of the process, we do have to take some pictures. We make sure to take quite a few pictures (including some making of pictures to go in the back of the calendar). For the Mushroom Management photos, we did a photo shoot, and the photos were not quite right. We knew we needed to make some changes Take a look:
We really thought that the team needed to look like they’d been sitting in that room for weeks, so we did some thrift store shopping and obtained some visually “interesting” shirts for the team to wear. We also wanted to Mushroom Manager to look a little more formal. We shot again the next day. That got us here:
Step 5 – Touching Up Some Lines
And to make things look amazing, our designer takes these images and makes them complete. OK, so it’s a bit more than just a few lines, but the work he does is fantastic. We’ve gone from an empty office to a development dungeon.
Step 6 – Choosing Behind the Scenes Photos
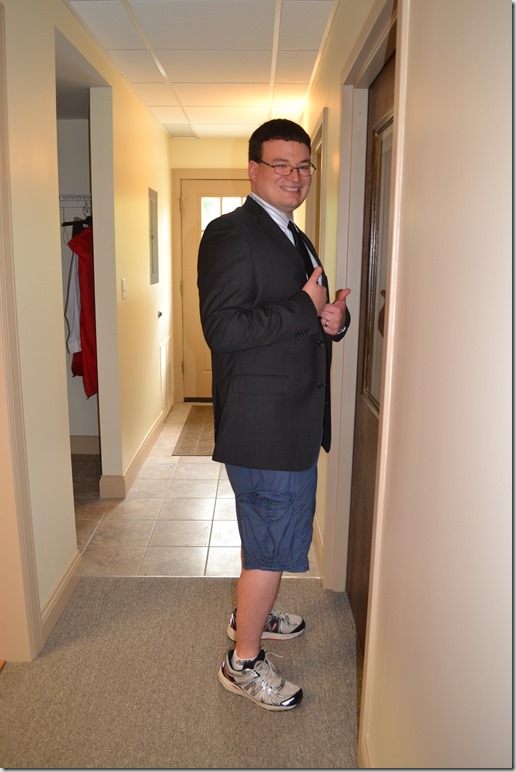
Our developers in that pictures are in fact developers, not actors. They’re actually pretty uncomfortable in that room. They’re sitting on the floor, closed in a room, with the air conditioning off in the August heat. Being the mushroom manager, I’m supposed to be comfortable, so I’m making sure to stay cool. That’s why I made sure to wear the lightest pair of shorts I owned for this shot.
That’s how you really class-up an outfit right there. worn athletic shoes and blue shorts go really well with a sport coat, shirt, and tie. Trust me!
Step 7 – Enjoying the Calendar
Yes, this is our favorite part as well. When we get to see our first, fully printed calendar. It’s amazing to see thousands of hours of work come to life in the form of a calendar. Yes, we know the number of hours that go into these. NimblePros was in the software consulting business, so we tracked the hours we billed toward our internal projects like these.
Help us make the 2016 Software Craftsmanship calendar, so you can also enjoy smiling, laughing, and being reminded of all of the ways that you can fail at making software or working as a team!
Comments