I am very grateful to be speaking at my 6th CodeMash. I’ve again been selected to present a precompiler on Software Craftsmanship (a topic I am very passionate about). I hope that everyone can attend my workshops. I’ve got two of them again, so I’ll be spending a full day working with software craftsman coding. We’ll be focusing as always on practicing, pairing, testing, and applying all of these effectively. We’ll work through ways you can use practice to learn new concepts and patterns to improve your skills at building great software.

Once again, Steve Smith and I will be presenting these Precompiler workshops together, so you’re sure to have a blast!
Our sessions are usually held back-to-back, so that you can attend the beginner session in the morning and follow it up with the intermediate session in the afternoon. Last year, our afternoon session had to have extra chairs and tables brought in for all of the extra people who showed up. My goal every year is to put on a workshop that will be the highpoint of your CodeMash! Join us for some great coding, learning, and practicing of your software skills.
If you’re in the Northeast Ohio area and want to learn more about software craftsmanship, you should check out HudsonSC. Our October meeting has been scheduled already. We meet on the third Wednesday of every month in Hudson, Ohio.
I noticed someone recently using a “hard delete” in the git command line recently. I commented on it being brave, but it turns out that he didn’t realize there was a different way to delete a branch in git. In case anyone else is wondering the difference, here is a quick tip on it.
In the git command line, you can use the “-D” parameter to delete a branch. It looks like this:
git branch –D my-branch-name
This will delete the branch regardless of whether it’s been merged back in. This can be dangerous, since you may lose changes that you’ve not yet merged elsewhere.
If you want to be more careful with your branch deletion, you should use a lowercase “d” with the “-d” or “—delete” parameter. That would look like this:
git branch –d my-branch-name
This will delete the branch only if you have merged the branch up already. This means that the branch’s changes should have been saved in the parent branch already, so it’s safe to delete. If you try this when it hasn’t been merged, you’ll received a message telling you that the branch was not deleted for this reason.
If you want to see the branches that still need to have their changes merged, you can do that using the following command:
git branch --no-merged
If you want to see the branches that can safely be deleted, because their changes have already been merged upstream, you can use this command:
git branch --merged
I hope you found these quick tips useful while you’re using git. If you’re new to git or GitHub, I recommend that you check out my Pluralsight course, GitHub for Windows Developers. The course takes an easy-to-follow approach to getting you set up using Git, GitHub, and GitHub for Windows.
I'm serious. If you create a new branch in git, you didn't really do much of anything. All you did was make a pointer. There is no copying of the files. No additional changesets. When you checkout the branch you just created, you still didn't really do anything. It just changes which branch you’re on. The files don’t change at all. That's because git does not need to change the source code at all in order to deal with this new branch.
When you start changing the code, however, you'll be adding new commits that are in that branch. The branch itself isn't really a thing though, since git effectively just makes a linked list of your changesets.
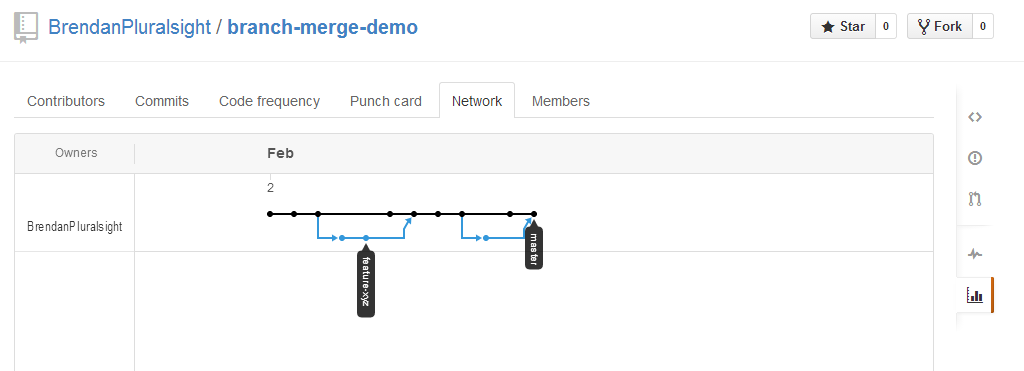
In the example shown here, notice that the blue line for “feature-xyz” does not have a dot until it’s first commit. That is because the branch starts, and it’s just a link pointing nowhere. Once there is a commit, there is some significance, but the branch itself is nothing. Git is primarily just a tree made of these links. This simple example illustrates some basic branching and merging.
I hope this little bit of info about git makes using it easier. If you want to learn more about using GitHub, please check out my Pluralsight course on GitHub.
I’ve got a Pluralsight course about using GitHub that went live on Tuesday, so I thought I would post a few quick tips to help anyone using GitHub or GitHub for Windows and also promote my course.
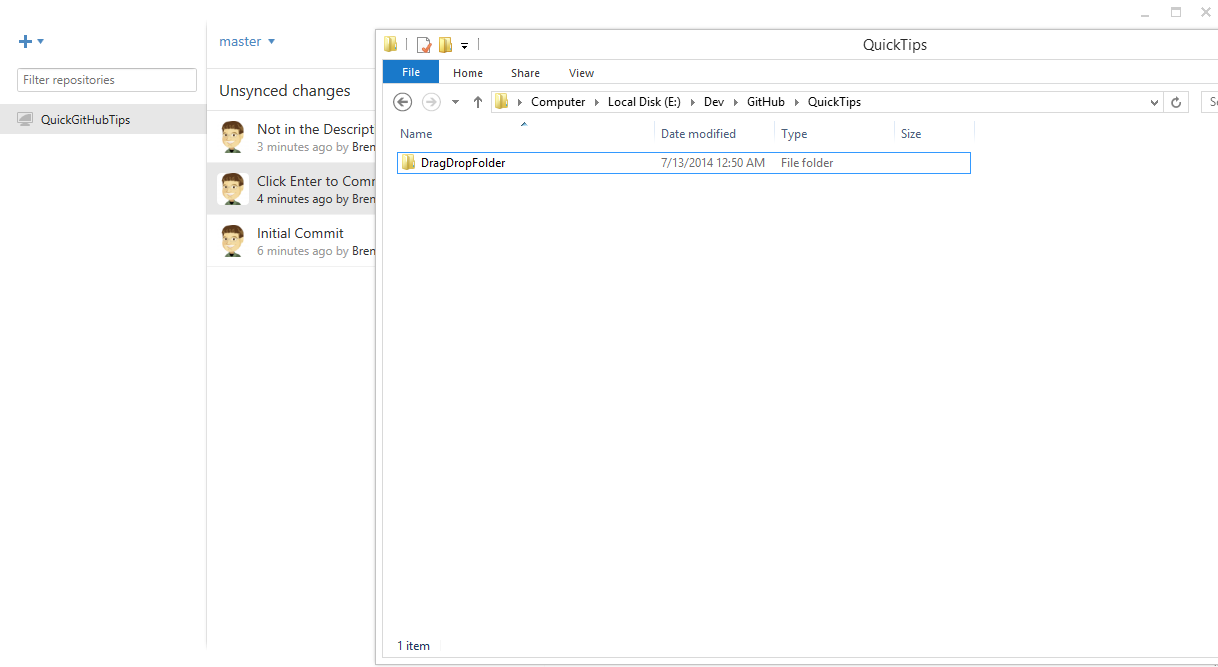
There are a ton of ways to get a repository into GitHub for Windows to use it to manage your repository. I go over all of these in my Pluralsight course, but one of the neatest ways to add a repository is to just drag and drop the folder or the page.
You literally just need to go to the folder in explorer and drag the folder into GitHub for Windows.
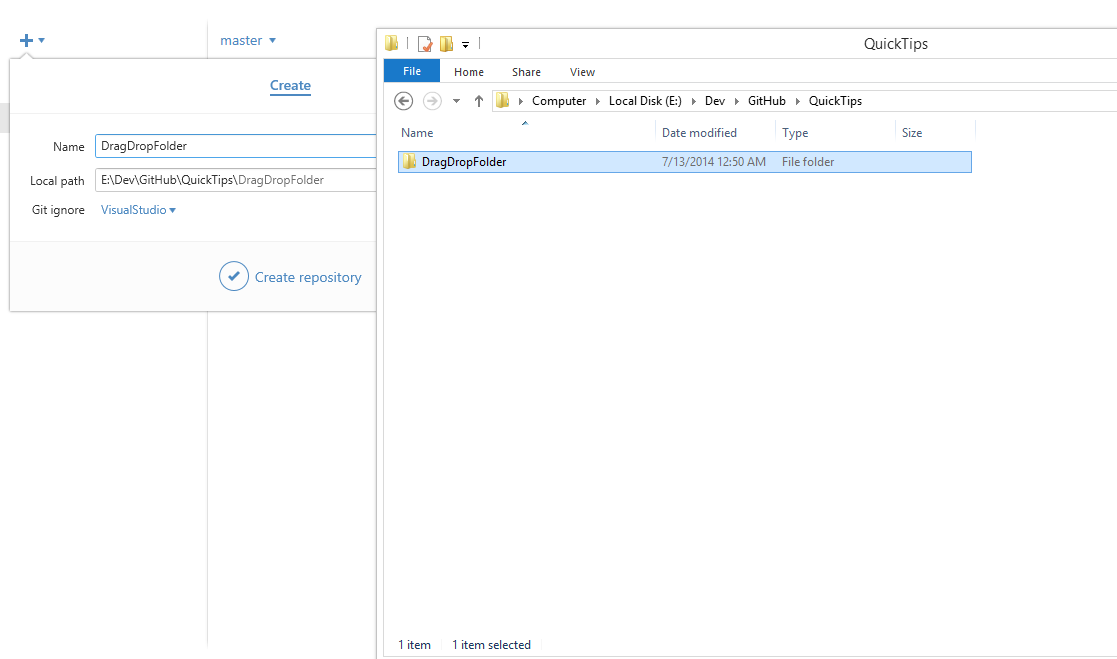
Once you’ve dragged the folder in, it will bring up this “Create” context menu if it’s not already a repository. This will also call “git init” on the folder, so it becomes a repository.
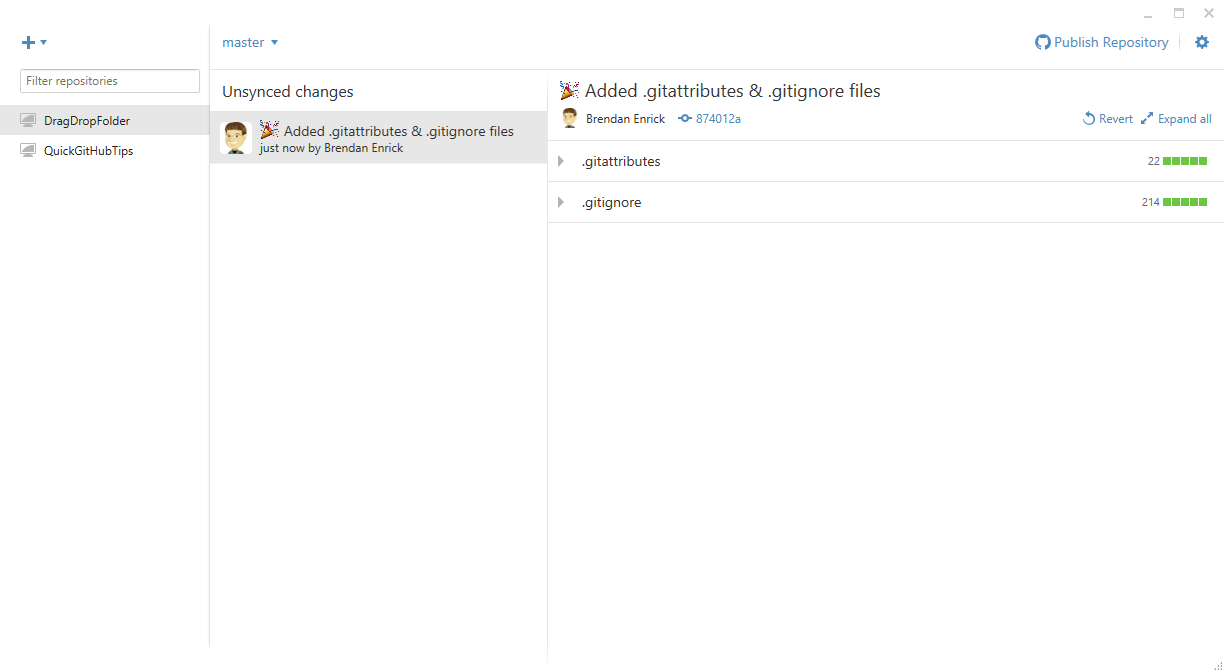
Once it’s done, you’ll have a repository. It will commit an initial .gitattributes and .gitignore file for you.
If you already have a repository on GitHub, you can drag the URL into GitHub for Windows.
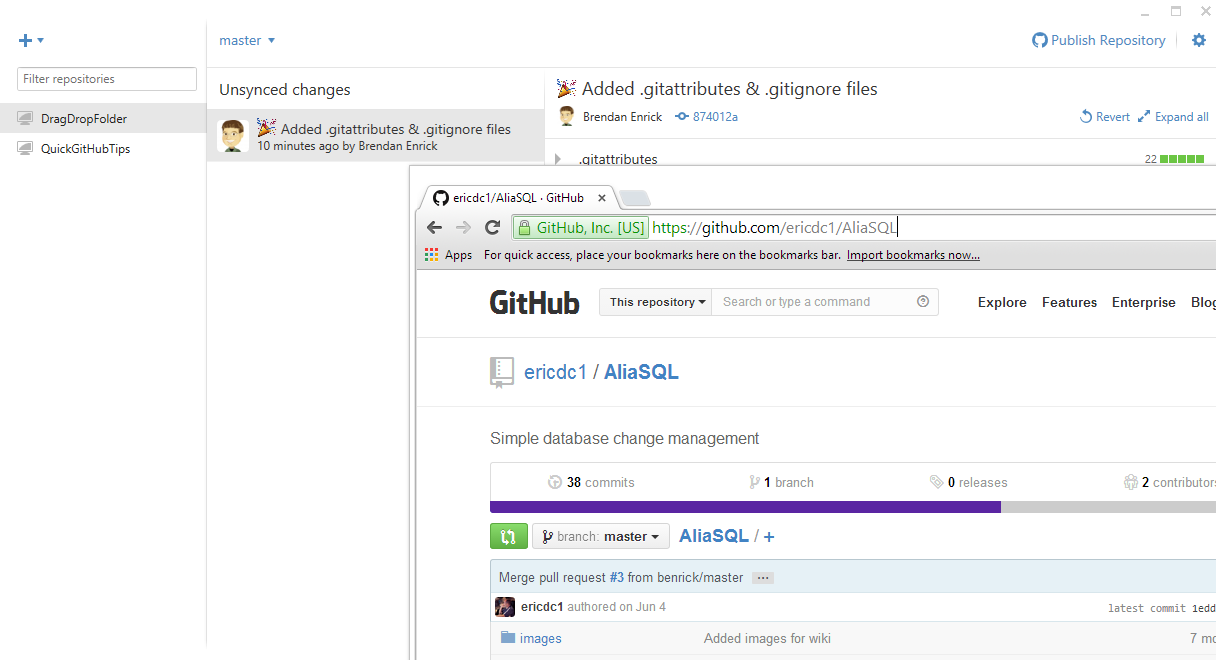
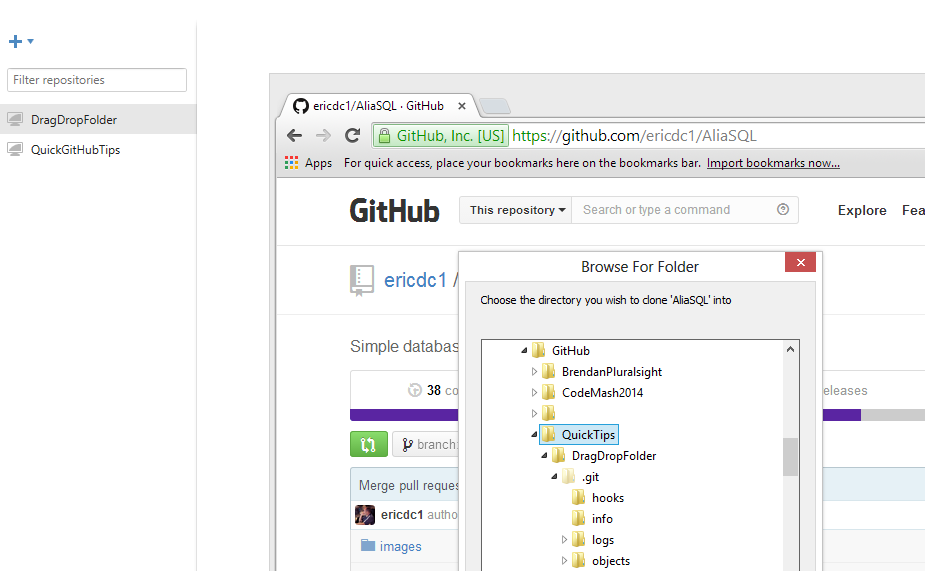
Once you drag it in, GitHub for Windows may want to know where to store the local copy. Just choose a location for it.
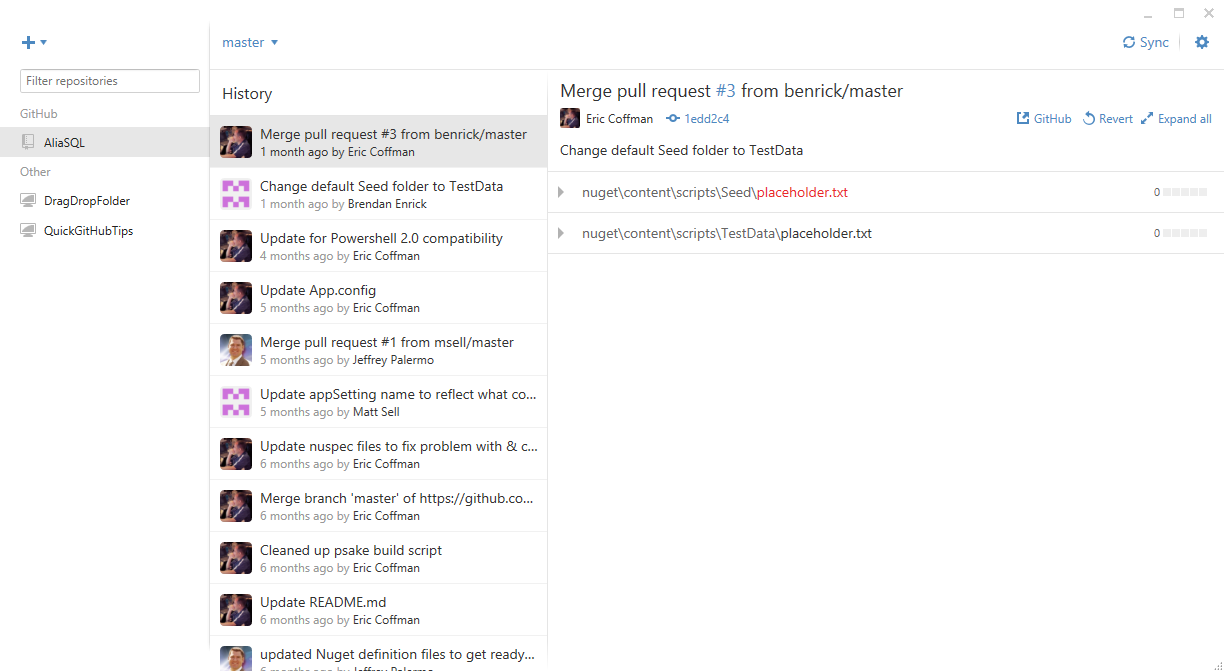
After it is done cloning the repository, you’ll have a local, connected copy.
I hope these little tricks make it easier for you to set up repositories with GitHub for Windows, and if you want to learn more about GitHub, check out my Pluralsight course.
I’ve got a Pluralsight course about using GitHub that went live on Tuesday, so I thought I would post a few quick tips to help anyone using GitHub or GitHub for Windows and also promote my course.
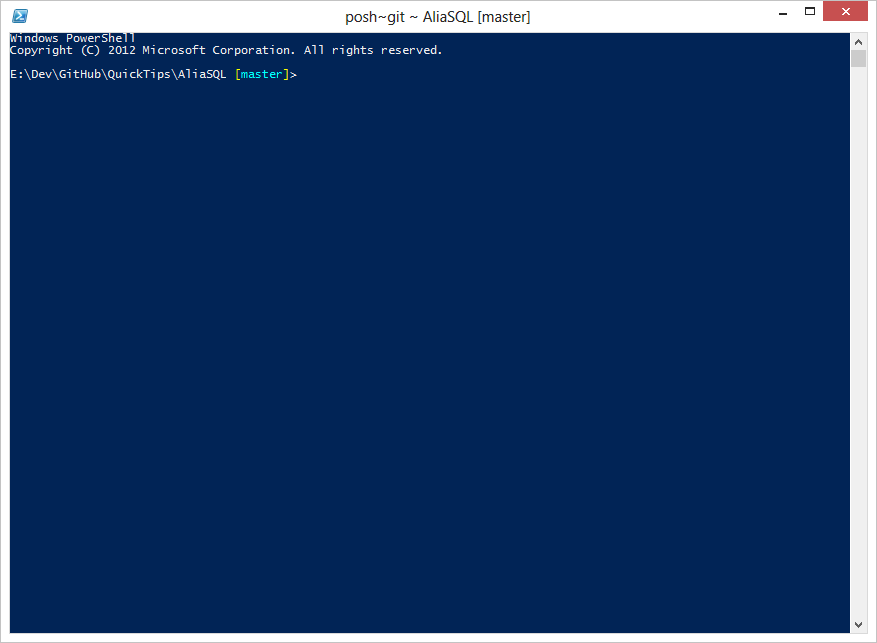
When you need to use the command line, it’s nice to open it right in your repository instead of having to “cd” your way there. When you’re in GitHub for Windows, you can use the Tools context menu to “Open Shell” like this:
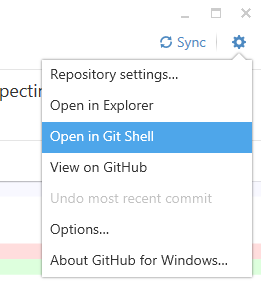
Once open, you’re in a git shell in your repository with context-aware information to help you complete your task.
I hope this quick tip is useful for you, and if you’d like to learn more about GitHub and GitHub for Windows, please check out my Pluralsight course.


